Grout can go from bright white to dingy gray before you even realize it. Over time, dust, soap scum, spills, and moisture sneak in and darken those tiny lines between your tiles. If you’ve tried scrubbing without much success, you’re not alone. But here’s the good news—there’s a simple cleaning trick using just three common household ingredients that can make your grout look brand new in just 15 minutes.
Why grout gets so dirty so fast
Grout is porous, which means it absorbs dirt, spills, and even bacteria over time. In bathrooms and kitchens, that grime adds up fast. Constant foot traffic, food splashes, and moisture build-up make regular cleaning essential—but often, mopping alone won’t cut it.
That’s where this powerful DIY cleaner comes in. No need for expensive chemical products or professional services. You probably already have everything you need right at home.
The 3-ingredient miracle grout cleaner
This mix combines common items you likely have in your kitchen or bathroom. When used together, they break down stains, fight bacteria, and lift dirt from even the most stubborn grout lines.
You’ll need:
- 1/2 cup of baking soda
- 1/4 cup of hydrogen peroxide (3% solution, the kind sold in most pharmacies)
- 1 teaspoon of liquid dish soap
Each ingredient plays a key role:
- Baking soda acts as a gentle abrasive, helping to scrub without scratching.
- Hydrogen peroxide disinfects and whitens, lifting stains deep in the grout.
- Dish soap cuts through grease and helps the mixture spread evenly across surfaces.
How to apply the mixture for best results
This method works best for floor tile grout or wall tile grout in bathrooms and kitchens. Here’s how to do it:
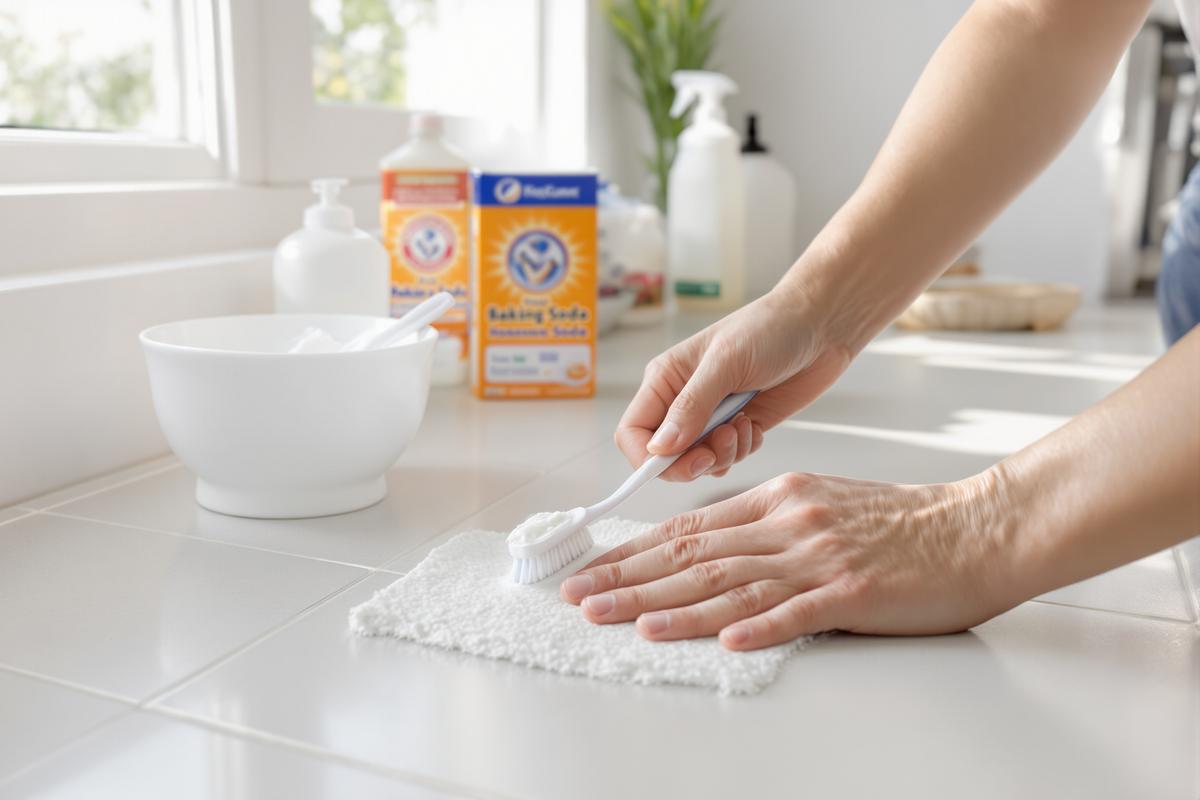
- 1. Mix the ingredients in a small bowl until you get a runny paste.
- 2. Apply the paste directly to the grout lines using a small brush or toothbrush. Be generous—it should coat the grout completely.
- 3. Let it sit for 15 minutes. This gives the chemicals time to react and break down grime.
- 4. Scrub lightly with the toothbrush or a grout brush. Pay extra attention to stained areas.
- 5. Wipe clean with a damp sponge or towel, then rinse the area with warm water.
Almost instantly, you’ll notice the grout looks brighter and cleaner—some people say it looks like new again.
Helpful tips for even better results
If you want to get the most out of this grout-cleaning trick, try these tips:
- Do a small test area first. While this formula is safe for most tiles, it’s always smart to check in a low-visibility spot.
- Use warm water when rinsing—it helps dissolve leftover cleaner and lifts grime.
- Seal your grout after it dries. This prevents new stains and keeps it clean longer.
Also, be careful not to use this method too frequently. Hydrogen peroxide can be a bit harsh on grout when used weekly. For general upkeep after deep cleaning, use mild cleaners and regular maintenance.
When to use this vs. professional cleaners
This method is ideal for regular maintenance and medium-level grime. But if your grout is moldy, severely discolored, or beginning to crumble, professional help might be worth it. Still, many homeowners find this DIY trick enough to bring life back into their bathroom floors and kitchen backsplashes without breaking the bank.
Your tiles deserve fresh-looking grout
It’s easy to forget about grout, but when it’s clean, the entire room looks brighter and more inviting. With just baking soda, hydrogen peroxide, and dish soap, you can tackle years of grime in just 15 minutes.
So the next time your tiles look dull, mix up this easy solution and try it out. You might be surprised how much better your space looks—with almost no cost and very little effort.