
Changing a radiator valve might sound tricky, especially if you’re worried about having to drain your entire system. But here’s the surprising part: you can actually do it without draining all your radiators. Many homeowners don’t realize this and end up wasting time, water, and money. Let’s look at how you can skip the mess and still get the job done right.
Why Changing a Radiator Valve Matters
Your radiator valve controls how much hot water flows into your radiator. Over time, these valves can wear out or seize, making your heating less efficient. If you notice cold patches, difficulty adjusting heat, or leaks near the valve, it’s time for a change.
Faulty valves can also cause pressure problems in your central heating system. That means higher energy bills and less comfort in your home.
The Common Mistake: Draining the Whole System
Most people assume they have to drain all the radiators before changing a valve. It sounds logical, right? But here’s why it’s not the best idea:
- Time-consuming: Draining and refilling a system can take several hours.
- Energy loss: You lose heated water, which costs money.
- Risk of introducing air: Air pockets in radiators lead to uneven heating.
Luckily, there’s a smarter way. You can isolate your radiator and change the valve without a full system drain.
What You’ll Need
Before you begin, gather the following tools and supplies:
- Adjustable spanner or wrench
- Radiator bleed key
- PTFE tape to seal threads
- Basin or bucket to catch drips
- Old towels for extra protection
- Pipe freezing kit or bung kit (if working on a pressurized system)
- New radiator valve (make sure it matches the size and type of your system)
Step-by-Step: How to Change the Valve Without Draining Everything
Follow these steps to get the job done efficiently and safely:
1. Turn off the heating
Let the system cool for at least an hour to avoid burns and water pressure buildup.
2. Isolate the radiator
Close both the lockshield valve and the thermostatic radiator valve (TRV) at each end of the radiator. Count the number of turns it takes to close the lockshield valve—you’ll need to reopen it the same amount later.
3. Relieve pressure
Use the bleed key to slightly open the bleed valve at the top corner of the radiator. This will release built-up pressure and create a vacuum to stop water from rushing out when you remove the valve. Keep a bowl or bucket underneath just in case.
4. Freeze the pipe or bung the system
If your system is pressurized (a combi boiler, for example), use a pipe freezing kit to temporarily stop the flow of water just below the valve. Alternatively, if you have access to the header tank, install a bung kit to block flow from the tank.
5. Remove the faulty radiator valve
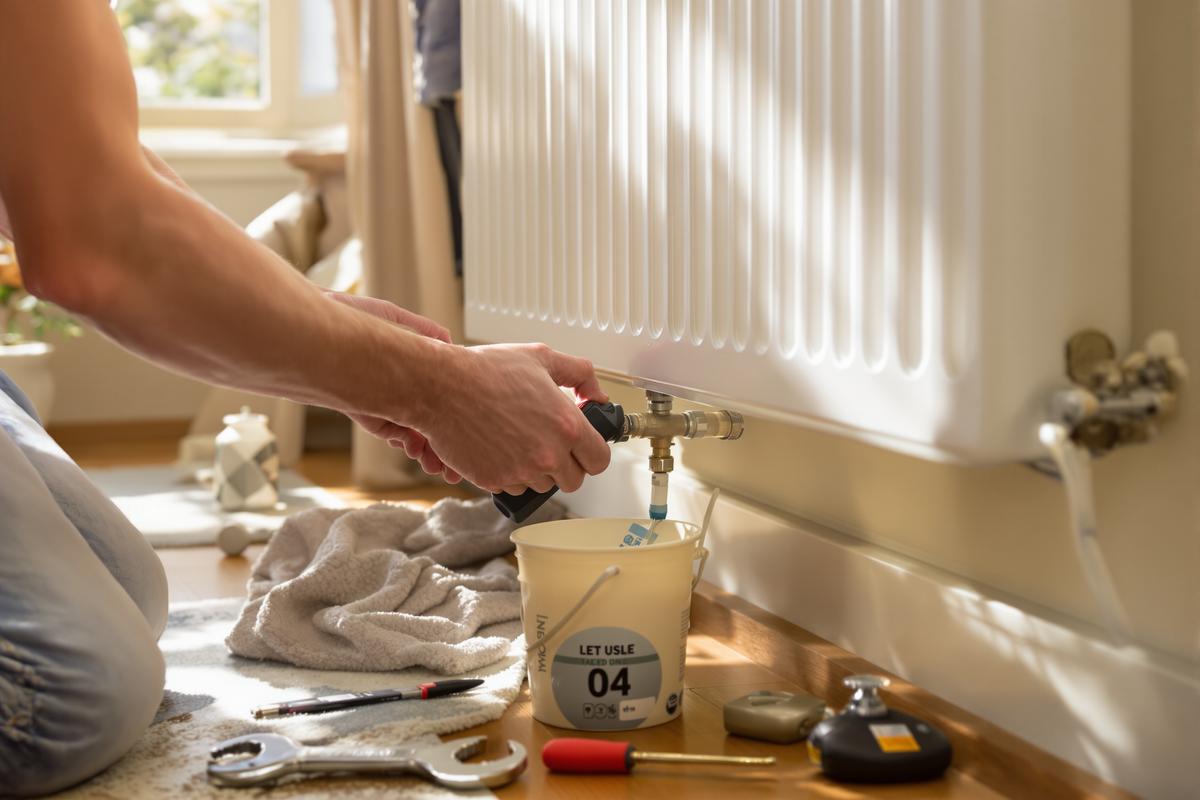
Place old towels below the valve. Use the adjustable spanner to loosen the fittings. Tilt the valve up slightly to let remaining water drain into your bowl.
6. Fit the new radiator valve
Wrap PTFE tape around the threads of the new valve to prevent leaks. Install it in place and tighten firmly but gently. Don’t overtighten as it can damage fittings.
7. Reopen the valves
Once everything is connected, reopen the lockshield and TRV. Check for any leaks around the fittings.
8. Bleed the radiator
With the heating off, use the bleed key to release trapped air. You’ll hear a hiss—once water starts to trickle out steadily, tighten the valve again.
9. Turn the heating back on
Let your system heat up and check for proper flow and warmth. Make sure the repaired radiator heats evenly.
When to Call a Professional
This method works well for confident DIYers. But if you notice signs like:
- Persistent leaks
- Low boiler pressure after repair
- Radiators that don’t heat evenly
It may be time to call a heating engineer. Sometimes system issues go deeper than a faulty valve.
Final Thoughts: Save Time, Avoid Mess
There’s no need to drain your entire heating system for a single valve. With the right tools and smart steps, you can change a radiator valve quickly and cleanly. It’s a valuable skill that saves time, water, and hassle—especially during colder months.
Always double-check your valve type and follow safety steps. And remember: if in doubt, don’t hesitate to ask for expert help.